Ear Wire Designs
Handmade Ear Wires: Just in the Nick of Time
This is a brief description of variations of handmade ear wires that can be made based on the Magpie Gemstones video on the same topic. If you have not already, please watch this http://www.magpiegemstones.com/earwiretutorial.html as a preview to this information.
Have you ever run completely out of ear wires at the last minute when you were trying to finish a set of jewelry to wear that very day? Maybe you’ve promised a friend or customer that you would put a pair of earrings in the mail only to find out that the stores have closed and you don’t have any ear wires. Believe me; both of these things have happened to me more than once. First, when this occurs, I’m filled with disbelief. How could I possibly be out of ear wires? Usually, a frantic searching of my work area nets nothing, but throws me into even more of a panic. Disgusted at this point, I finally realize that I could make my own ear wires just as Szarka taught me. Humph. Why didn’t I just do that in the first place? Making the ear wires would have taken much less time and energy that searching my findings which are now strewn about the work table. I guess the ear wire video helped me just in the nick of time.
As the video showed you, ear wires just aren’t that difficult to make. A twist here and a hammer there and you are finished. The fun part for me has been trying to figure out variations of the basic ear wires. I presented myself with the question “how many ways can I create earrings from the basic handmade ear wires?” With this in mind, I was off to the races. I started by drawing a few ideas of my own and then went to a boutique that sells lots of earrings to see if I was on the right track. A bit of online marketing research also yielded some ideas. (By the way, don’t take your camera when you go in a store for research. The management frowns upon it.)
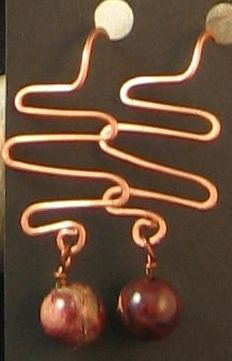
The first pair shown here is made from a simple swirl. I worked with two 18 gauge pieces of wire at once and began with the basic swirl at the bottom. Although it is difficult to hang on to both wires as you work, it is one of the only ways I’ve been able to get the swirls to match. After getting to the last swirl, I worked with just one wire and then the other, shaping each over my Wubbers and then positioning the wire straight down for the back. I hammered them by letting the bench block hang slightly over the edge of the workbench and fitting one side of the ear wire, for example the back, under the block while I hammered the other side, in this case the top.
Then I switched sides and was able to hammer these without destroying the basic shape. Finally, the pair went into the tumbler for a couple of hours. I believe this helped them become work hardened.
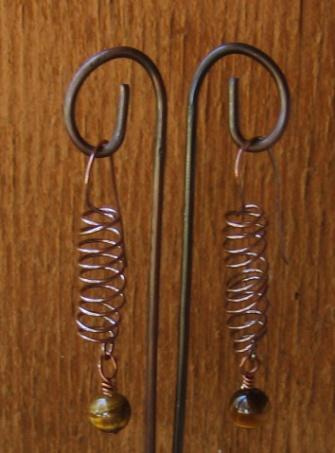
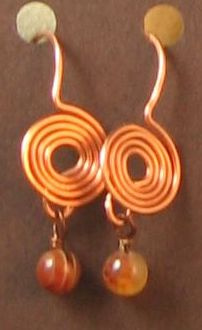
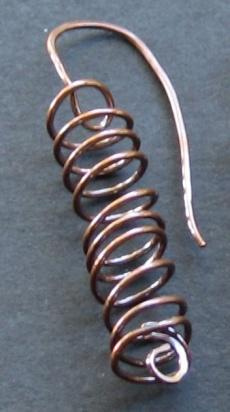
Two more pair of earrings began as coils and simply vary in terms of number of coils and thus length. The first set of pictures show the completed pairs of earrings.
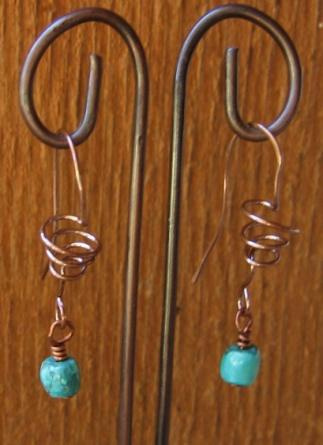
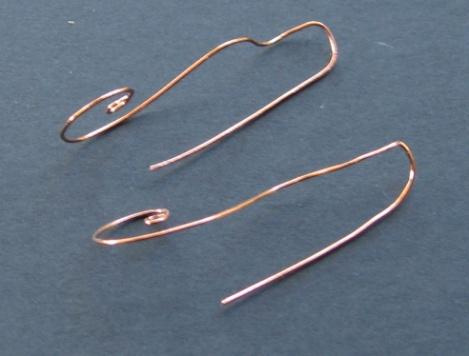
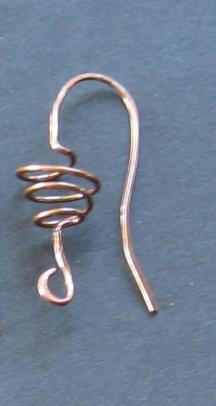
For each of these pair I also started at the bottom, but worked with only one 18 gauge wire at a time. I made the small bottom loop and then turned the wire perpendicular to this before starting the coil. I wanted to try and get the loop positioned in the center of the coil. I hammered this loop before proceeding. The coils were made by wrapping the wire around my trusty Wubbers and counting the number of coils in order to replicate them for the second earring in each set. Completing the coils, I then pushed the end of the wire toward the center or the final (top) coil and turned it perpendicular to the coils. Finally, I created the ear wire as shown in the video. I hammered the ear wire, but not the coils. Then the earrings spent time in the tumbler. The only difference between the two pair shown is the number of coils used in each. You can see the armature better in the following pictures.
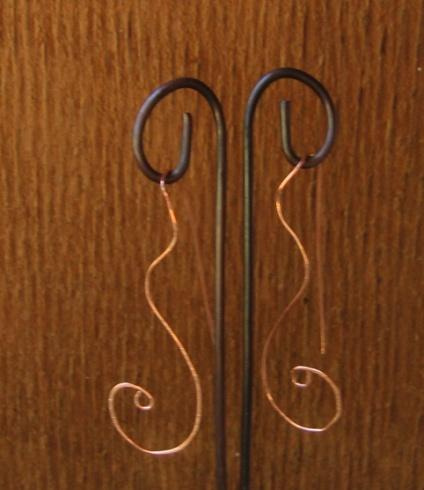
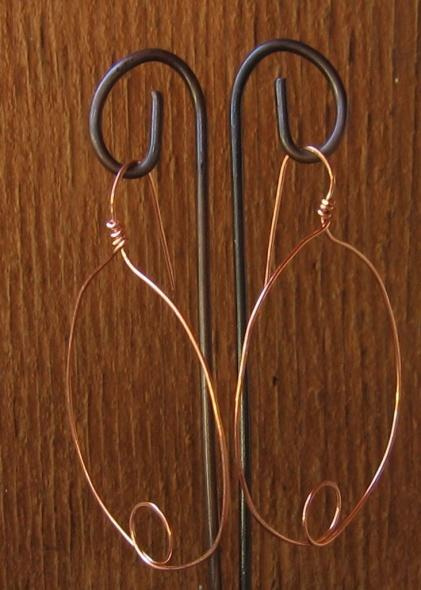
 Another pair of earrings came from a simple circle design which I think is self explanatory. These could be embellished by adding a bead to the inside of the small circle at the bottom of each earring or adding a dangle at the bottom. You would probably need a woman with a long neck for the latter!
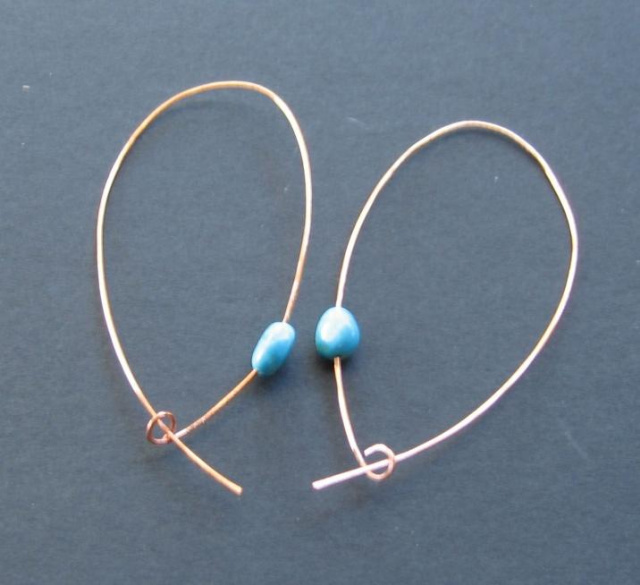
Finally, I made one pair of earrings that does not resemble the ear wires on the video.
Methodology for these is also easily discernable by looking at the photo. The bead is held in place by hammering the wire to flatten it on each side of the beads until they are held in place.
The earrings shown here are just a start. I’m sure you can picture the various styles herein made from sterling silver or colored artistic wire. Consider how each would look with different colors or types of beads. Would you like them better if they were larger or smaller? My mind is still churning with other ways to make my own ear wires. How many ways can you think of? Why don’t you try a few now so that you, too, will have them in the nick of time?
Karen Meador
**Contributing authors are noted in the articles they wrote. All articles are copyright. You can reprint these articles as long as the original author is sited and a link to this website is included. The name Magpie Gemstones must be used as the hypertext.